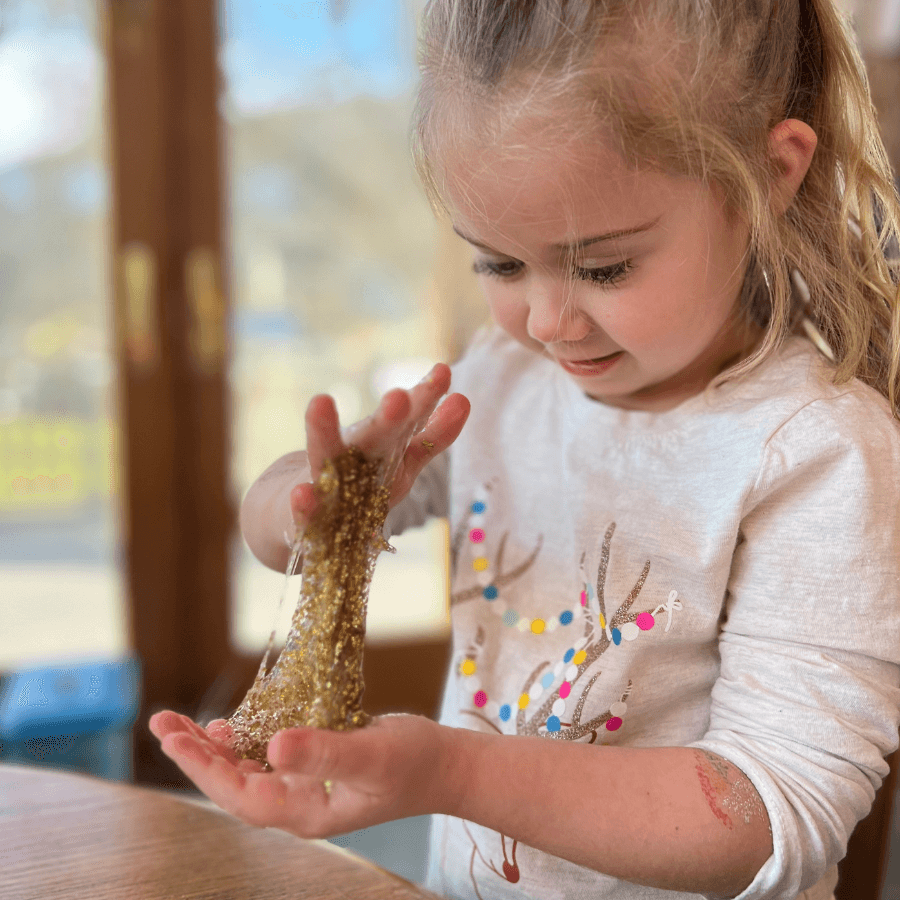
The Educational Magic of Slime-Making
|
|
Slime-making isn't just a fun activity that keeps kids engaged for hours: it's a fantastic educational tool that offers a multitude of learning opportunities.
If you've ever watched your child's eyes light up as they squish, stretch, and mold this gooey substance, you'll know there's more than meets the eye.
Why Slime is a Learning Goldmine
1. Hands-on Science Exploration
Making slime introduces children to basic scientific concepts. Mixing ingredients, observing texture changes, and understanding cause and effect are all integral parts of the process. It's a mini chemistry lesson right in your kitchen!
2. Sensory Development
From tactile exploration to sensory stimulation, slime engages multiple senses. It aids in sensory processing and can be particularly beneficial for children who benefit from sensory play, enhancing their motor skills and cognitive development.
3. Creativity and Problem-Solving
Encouraging kids to experiment with different colors, textures, and additives (like glitter or beads) fosters creativity. Moreover, troubleshooting if the slime is too sticky or too stiff teaches problem-solving skills, resilience, and patience.
Slime Recipes
Okay, I’m sold, how can I make it? Here are two simple slime recipes for home.
Fluffy Slime Recipe
Ingredients:
1 cup white school glue (about 8 oz.)
1 tablespoon saline solution (containing sodium borate)
½ cup shaving cream (unscented and uncolored for best results)
1 tablespoon cornstarch
Food coloring (optional for desired color)
Glitter (optional for added sparkle)
Instructions:
Prepare the Base: In a mixing bowl, pour out the 1 cup of white school glue.
Fluff it Up: Add the ½ cup of shaving cream to the glue. The shaving cream gives the slime its fluffy texture, so feel free to add a bit more if you want an extra fluffy consistency.
Thicken with Cornstarch: Sprinkle 1 tablespoon of cornstarch into the bowl. This will help give your slime a firmer, yet still fluffy, texture.
Color and Sparkle (Optional): If you want to add color, squeeze a few drops of food coloring into the mixture. For a glittery touch, sprinkle in some glitter as per your preference.
Activate the Slime: Slowly pour in 1 tablespoon of saline solution into the mixture while stirring continuously. As you mix, you'll notice the slime starting to form and pull away from the sides of the bowl.
Knead and Stretch: Once the slime starts coming together, knead it with your hands. If it's still too sticky, you can add a few more drops of the saline solution and knead again until you achieve the desired consistency. Remember, the more you knead, the less sticky it will become.
Store or Play: Once your fluffy slime is ready, store it in an airtight container when not in use. Enjoy the satisfyingly fluffy texture and watch as it stretches and molds with ease!
Traditional Slime
Ingredients:
1 cup of clear glue (or white school glue for opaque slime)
1 teaspoon of borax powder (available in laundry aisles or online)
1 cup of warm water
Optional: Food coloring, glitter, or small beads for customization
Instructions:
In a mixing bowl, combine the glue and 1/2 cup of warm water. Stir until well blended.
In a separate bowl, dissolve the borax powder in the remaining 1/2 cup of warm water.
Slowly pour the borax solution into the glue mixture, stirring continuously.
As you stir, the slime will begin to form. Knead and stretch the slime with your hands until it reaches the desired consistency.
Add food coloring, glitter, or beads for a personalized touch.
Store the slime in an airtight container when not in use.
Slime Activities
Now that you’ve made it, what can you do with it?
Slime Science Experiments: Magnetic Slime: Introduce a magnet to your slime creation and observe its movement. Discuss magnetic properties and why certain materials are attracted to magnets.
Math & Counting Games: Use the slime as a playful tool for counting exercises. Create small balls or shapes from the slime and ask your child to count them. You can also incorporate basic math operations by adding or subtracting slime pieces.
Sensory Exploration Stations: Set up different slime stations with varying textures (smooth, crunchy, glittery). Allow your child to explore each type and describe what they feel. This activity enhances descriptive vocabulary, sensory awareness, and provides a calming sensory experience.
Time for Clean-Up:
Here are three tricks for easy slime clean-up:
Use Warm, Soapy Water: Before diving into the cleanup, have a basin or bucket of warm, soapy water ready. When it's time to tackle the slime, soak any utensils, bowls, or surfaces in this solution. The warmth helps loosen the slime's grip, making it easier to rinse off. Plus, the soap aids in breaking down the stickiness.
Vinegar Solution for Sticky Spots: If you find remnants of slime stuck on surfaces like tables, floors, or carpets, a vinegar solution can be your best friend. Mix equal parts of white vinegar and water in a spray bottle. Spray the affected area and let it sit for a few minutes. The vinegar helps dissolve the slime, making it easier to wipe or scrape away. After treating, wipe with a damp cloth to remove any residue.
Freezing for Fabric Clean-Up: If slime finds its way onto fabrics like clothing or upholstery, don't panic! A simple trick is to place the fabric in a freezer for a couple of hours. Once the slime hardens due to the cold temperature, gently scrape off as much as you can with a blunt knife or spoon. Follow this up with a thorough wash or vacuum, depending on the fabric type.
Remember, the key to easy slime clean-up is acting swiftly and using the right techniques. With these tricks, you'll have your spaces slime-free in no time!
We're Done! Slime-making transcends mere entertainment; it's a gateway to learning, exploration, and creativity. By incorporating this simple yet captivating activity into your child's routine, you're fostering invaluable skills, nurturing curiosity, and most importantly, making learning a delightful adventure!
📸 @schoolofchildhood (Thank You ❤️)